Blog Posts

segunda-feira, 22 de maio de 2017

Modelos e Ideias! Um Holograma em cada Smartphone(!), vasos 3D-impressos, Material 3D de Carbono, um sintetizador de Papel, e Ar Condicionado com Hidroónica!

Isto é impressionante...
Um Holograma em cada Smartphone, sim, os vossos Smartphones vão poder mostrar Imagens em 3D! 
Dica de Tyler Koslow, do belo Site All3DP, a coisa vai funcionar assim:
Uma película especial será criada, para se sobrepôr ao ècran do vosso telemóvel, e isto permite projectar imagens em 3D, FORA do Smartphone.

Impressionante.


Researchers Develop 3D Hologram Display for Smartphone Use

Tyler Koslow 
Just a few years ago, the idea of having access to holograms seemed like a fantastical notion. What once was a communication tool in the sci-fi classic Star Wars is starting to become an imminent reality.   
A team of researchers from the Melbourne, Australia-based RMIT University and the Beijing Institute of Technology are developing what they call the “world’s thinnest hologram.”

Creating 3D Holograms On Your Smartphone

The team is designing a nano-hologram that you can see without 3D goggles and is also 1,000 times thinner than a human hair. Using topological insulators, the researchers are creating a holographic film screen that is only 60 nanometers thick.  
This material have unique properties, acting like a conductor at the surface but an insulator throughout most of the interiors.
According to Zengji Yue, a research fellow at RMIT University and co-author of the research paper, the combination of the metallic surface and insulated interior acts as an intrinsic optical cavity. This generates multiple reflections of light within the thin film.   


E agora...
Arte 3D!
Uma série de 5 Vasos, impressos em 3D, pelo Designer Olivier van Herpt, por encomenda da Marca de Moda COS, por via duma Impressora que imprime em Barro.
Isto é só o princípio, quem sabe quantos mais novos de Expressão Artística o Fabbing permitirá?


Olivier van Herpt Partners with Fashion brand COS to 3D Print Clay Vases

Hanna Watkin 
Fashion brand COS has commissioned dutch designer Olivier van Herpt to create a series of five vases using a custom-designed 3D printer.
Olivier van Herpt is an industrial design graduate of the Design Academy Eindhoven. He has specialized on beautiful 3D printed objects made from clay. Fashion brand COS regularly works with artists and van Herpt was chosen due to his innovative twist on 3D printing.
Now van Herot has developed a series of five printed vases which are inspired by the company’s Spring/Summer collection. The designs take into account the colors, textures, and shapes of the collection’s pieces.
As a result, each of the vases has a different shape, from curved to angular. The final designs are now on display in COS stores around the world.
These stores include Stockholm’s Biblioteksgatan, Berlin’s Neue Schönhauser Strasse, London’s Regent Street, in Rotterdam’s Dreamhouse, Spain’s Bilbao and on New York’s Fifth Avenue.
If you live nearby any of these stores, check out the images of van Herpt working on the vases in the windows. You’ll be able to spot the designer’s custom-designed 3D printer which drips clay. By using a 3D printer, he was able to print larger designs. 


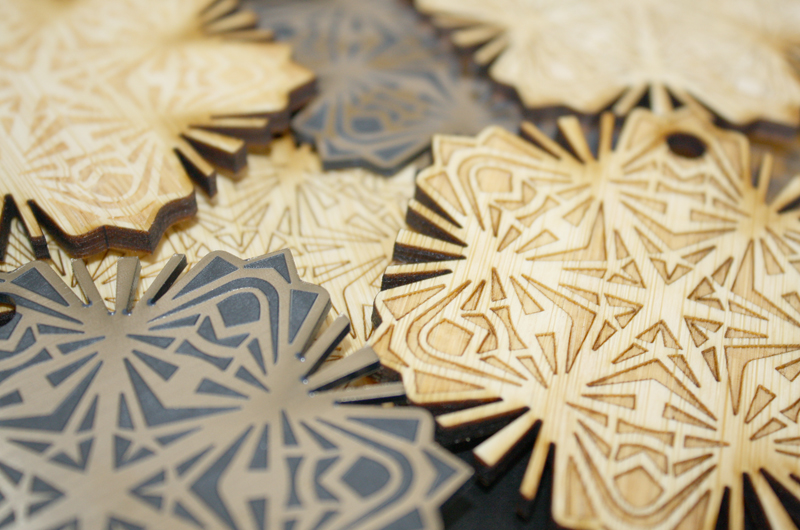
Aeromodelistas e afins, eis uma boa notícia da Sculpteo este novo Material, CarbonMide, é plástico reforçado com Fibra de Vidro, e, já adivinharam, é muito mais leve que o Poliamido, com a mesma resistência...
E imprime com muito boa resolução!
É bom.


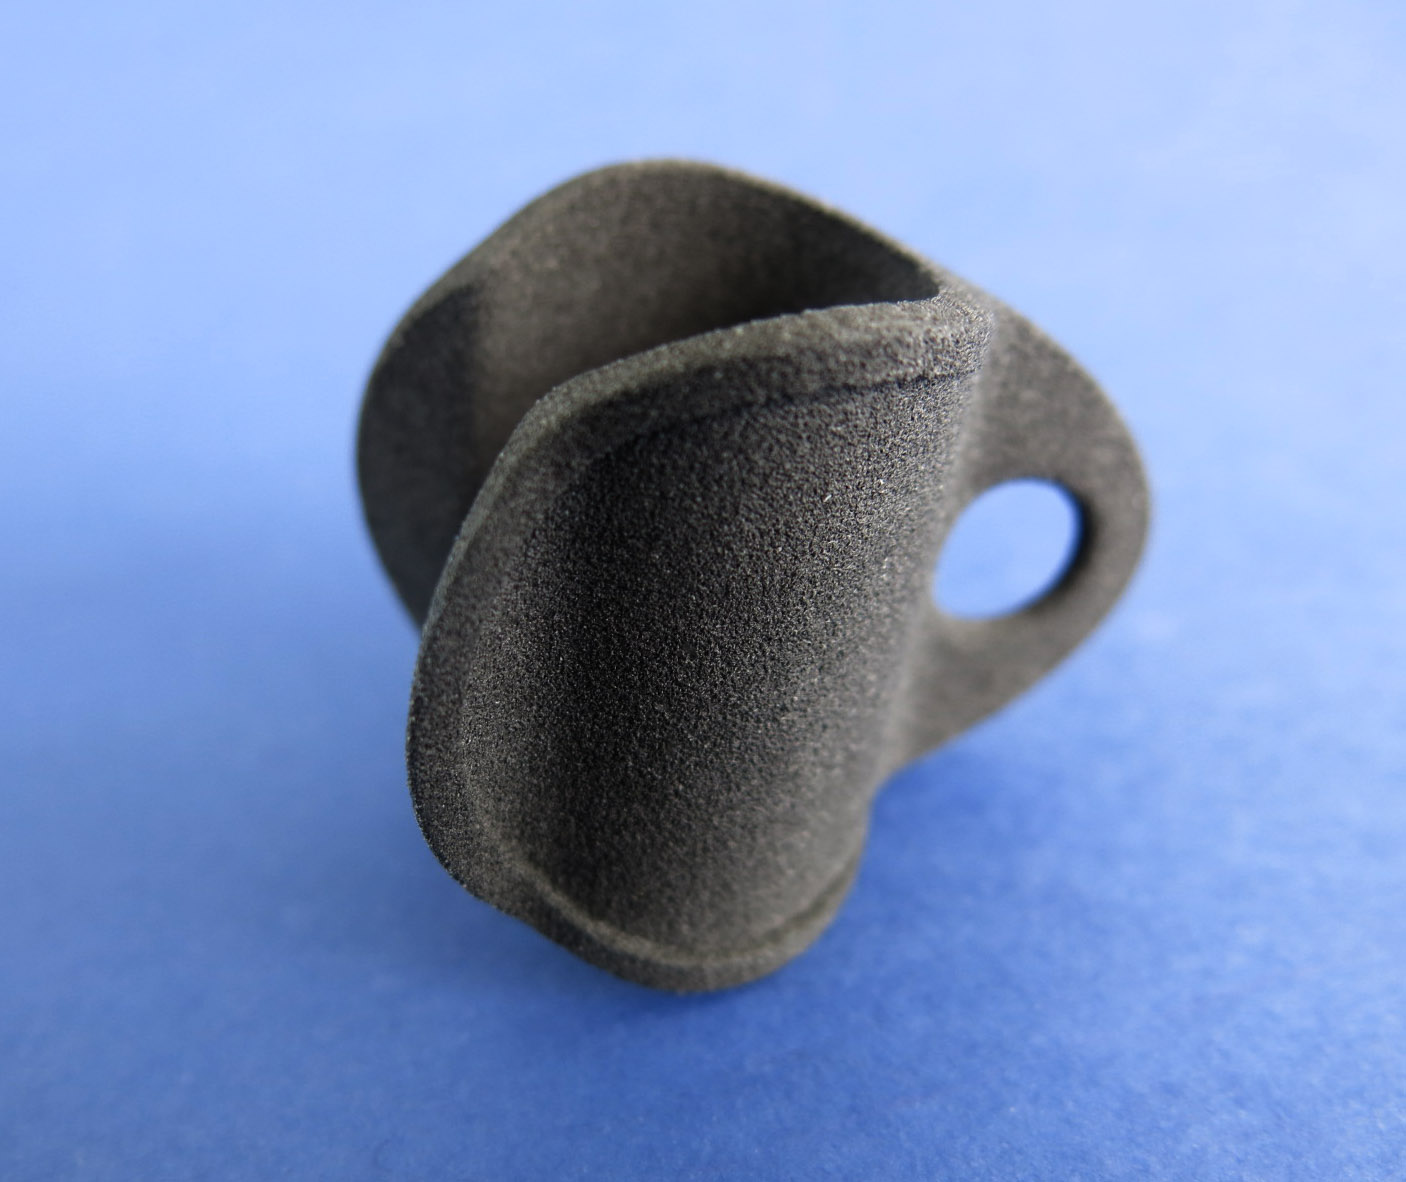
3D Printing Material: CarbonMideSculpteo 
Our CarbonMide Material
The CarbonMide objects printed at Sculpteo are created from a fine black plastic polyamide powder (PA12) reinforced with carbon-fibers. The material is characterized by an excellent stiffness and a maximized weight-strength-ratio. It nearly has the same mechanical properties than the solid black plastic Polyamide but is much more lightweight. The material is great for experienced professionals and people in need of a strong and lightweight material, and a very high 3D printing precision.
Due to the process related orientation of the fibers, the mechanical properties vary in the three axis directions. The Z axis is is the less resistant compared to X and Y. To learn more about it, refer to the design guidelines.
To learn more, refer to our paragraph about finishes and colors for polyamide models.
Processing Times and Pricing
The printing price of your design is calculated automatically the moment it is placed online. As you modify your object (changing size, using batch control or hollowing feature, etc.) you will note that the price changes automatically. The pricing is based on a series of factors, including: total volume, object size, and bounding box - to name a few.
Your CarbonMide object is estimated to arrive in maximum 16 business days. Polishing options and particularly large objects can extend the processing time by 1-2 days on average. The estimated shipping time is also calculated automatically as the object is uploaded.
Delivery time should be added to processing time and depends on the delivery option you choose. 
https://www.sculpteo.com/en/materials/carbonmide-material/


E agora, um pouco de saudável Loucura Criativa, façam um Sintetizador de 8 Bits, com PAPEL, fita de folha de Cobre, e mais uns pózinhos...


PaperSynth: an 8-bit Synthesizer Made Out of Paper and Copper Foil
Bryan Cera

PaperSynth v2 is an "8-bit synth" circuit for creating musical square wave tones - made with paper, copper foil tape, an ATTINY85 microcontroller and some simple electrical components.

https://www.instructables.com/id/PaperSynth-an-8-bit-Synthesizer-Made-Out-of-Paper-/


E esta, não lembrava a ninguém...
Mas aconteceu!
Uma estufa Hidropónica, que arrefece o ar, para o vosso Ar condicionado, em Climas quentes e secos.
E este, como tem a Estufa, serve também para os meses menos quentes.


Swamp Cooler, Hydroponic, Rooftop GreenhouseAviKado in backyard 
For those not in the know, a swamp cooler (also known as an evaporative cooler) is a popular way of cooling homes in hot, dry climates like Tucson, Arizona. It is a very simple machine, just a box with a fan in it and wet pads as walls. The fan pulls dry air through the wet pads, thus evaporating water, and pushes the now moist air into the home. The simple act of evaporation causes the pads to get very cool, and thus will cool the air as it flows past. The humidification of air is a side effect, but is usually welcomed when it is very dry outside. This is the same basic principle of how sweat works. However, swamp coolers can only drop the temperature of air by a limited amount, and will only work when it is dry, which is why you only see them in certain regions and even then, many people prefer AC units (or both). But enough about swamp coolers, lets turn ours into something else! 
It is an enclosed space with water and electricity, and is usually located on the roof of a building where it will get a lot of sun. The orientation of the swamp cooler does matter. The side with the duct should face north, but may also work if it face east or west. If it faces south it will block to much sun to make this useful. The roof of a swamp cooler is solid, but with the low winter sun it wasn't much of a problem.

https://www.instructables.com/id/Swamp-Cooler-Hydroponic-Rooftop-Greenhouse/


quarta-feira, 17 de maio de 2017

Aulas de Design 3D, free Class! E publicar 3D paramétrico, uma Câmara de Infravermelhos de Bancada, um Torno feito por Impressão 3D(!), E UM MOTOR BRUSHLESS!

Aulas à borla, é bom!
Estes nossos amigões da Autodesk, oferecem-nos uma série de Aulas bacanas para aprenderem a desenhar 3D, no programa Fusion 360, como deve de ser.
Impecável.
Vão-se lá inscrever:


3D DESIGN CLASS
Autodesk Design Academy 
Learn 3D modeling in Fusion 360 in under an hour! Whether you are new to CAD or already using parametric CAD software, this short video-only class includes everything you need. We'll introduce you to valuable tools for learning and teaching Autodesk Fusion 360 essentials, and give you great tips and tricks from industry professionals. Through a scaffolded learning experience, you'll develop your 3D modeling skills by applying them to a real world design challenge inspired by the Louis Kalff "Krähenfuss" table lamp.
The class includes step-by-step video instruction, a printable PDF guide, and a quiz.
Let's get started! 


Desenho 3D paramétrico, é outra coisa.
Porquê?
Porque é infinitamente adaptável!
Só para dar o exemplo mais óbvio, um Desenho paramétrico dum par de sapatos pode ser configurado para todos os tamanhos, cada número de Calçado é uma derivação dum desenho-base.
Por isso, este novo serviço, Profissional, permite-vos publicar um Modelo, e esse pode ser configurado N vezes, para os vossos clientes, por todo o Mundo.


Welcome! 
ShapeDiver is a web service for publishing parametric 3D data. It is run by ShapeDiver GmbH, a limited liability company registered in Vienna, Austria. Alexander Schiftner, Mathias Höbinger and Mathieu Huard founded it in 2015.
Our motivation is to bring parametric modelling to the web, and to make it a smooth, convenient and exciting experience for both designers and viewers. We want to offer the flexibility of mass customization to every company, big or small, in a simple web browser. Read more about our mission.
Our responsibility is to do it in a way that respects every designer's needs and concerns, be it regarding intellectual property rights, data security, privacy or any other issue that concerns you when you think about the idea of uploading your precious work to the cloud.
Read more about how we protect your IP.
There is nothing like seeing your product through our technology for the first time. Request a demo and let us show you how parametric design can enable new possibilities for your company.

https://shapediver.com/business-3d-configurators


NewFLIR ETS320 Thermal Imaging Camera, Temperature Measurement Range: -4 → +482 °F 320 x 240pixel
FLIR ETS320 Test Bench Thermal Camera 
FLIR ETS320 is a professional, affordable solution designed for hands-free laboratory testing. Ideal for reducing test times and improving product design for electronic board and device evaluation. The ETS320 detects design flaws that materialise as heat. Which is an important indicator of how a system is functioning. The ETS320 helps engineers and test technicians collect accurate, reliable data in seconds and analyse it quickly.


Quando se é Engenhocas, é outra coisa...
Este bacano, como nas Aulas tinha de esperar à vez, para tornear os seus Objectos, vai mas é de fazer, ele mesmo, o seu próprio Torno!
Brutal! Bravo.


3D Printed Lathe
iccycold3000  
First off, I am a sophomore high school student who actively participates in FTC Robotics representing Shark Beta Team #10088 and FatherBoards Team #10087. The goal of our robotics team is to learn as much as possible before graduating and going off to college. One crucial skill everybody on our teams had the desire to learn was how to manually lathe parts our self instead of sending the files for somebody else to machine them for us. This was where the idea of building my own lathe came in. As our school did not want to purchase a full-size lathe or for that matter allow students to operate a full-size lathe; the only other option was to build a miniature one myself. The major challenge of this project was that because all of our funds go straight into our robotics program and purchasing parts, the lathe had to be constructed out of existing parts in our lab, or the parts needed to be made personally (this is where the idea of 3D printing the lathe itself came into play. Another major challenge of this project was that the lathe needed to be relatively precise and accurate so that the final parts could actually be used on our robots. Those were the main challences I was faced with and I believe I did a relatively good job at solving these. If you do decide to build this you will find how percise and accurite it is despite it being 3D printed. So lets get to building! 


MARAVILHA!!!
600 Watts! 
MUÁHÁHÁHÁHÁ!

Eis um Motor Brushless, que vocês podem construír em casa, se tiverem uma Impressora 3D à mão, ou puderem imprimir estas peças nalgum lado, nalguma FabLab...
Usa o Arrenjo Halbach, de que já falei algumas vezes, e é fácil de montar:


600 Watt, 3d-printed, Halbach Array, Brushless DC Electric Motor
TheGoofy 
This is a very powerful, 3d-printed brushless DC electric motor. It has 600 Watts, and performs with more than 80% efficiency. The main components like rotor and stator can be printed with a common FDM-printer. Magnets, copper wire, and ball-bearings are ordinary components. The magnets of the rotor are arranged as Halbach Array. The motor runs with a standard ESC widely used in different RC-applications (plane, drone, car). 


quarta-feira, 10 de maio de 2017

Impressão 3D ao Metro, Non-stop 3D! E impressão 3d Híbrida, Um Torno económico, e um Teclado Faça-você-mesmo

Imprimir em 3D, sem suportes, e ao Metro?
Sim, ao Metro!
Ponha-se a Impressão a 45 graus, e faça-se um dos eixos, uma correia sem-fim.
Parece fácil de imaginar... Mas ninguém o fez!
Até agora:


Blackbelt 3D: Printing Ideas That Are Larger Than Life
Tyler Koslow
On Friday, another 3D printer will join the lengthy list of Kickstarter campaigns involving additive manufacturing. While some projects fail and others become forgotten, the Blackbelt 3D printer might just end up “changing paradigms” of FDM 3D printing technology.
Marketed as an industrial production machine, this printer is capable of creating extremely lengthy parts without the need for supports. These prints are easily repeatable thanks to a specially designed conveyor belt system.
Blackbelt 3D: Printing Ideas That Are Larger Than Life
The most unique concept of the Blackbelt is the high-precision conveyor belt that replaces the typical Z-axis. While the X-Y actuation system remains the same in theory, it has a slant of 45-degree. This modifiable angle will allow the user to print support-free overhangs.
The build volume allows for prints of up to 340mm x 340mm in the x and y direction. For prints that measure out to 1300mm or longer, Blackbelt recommends utilizing their roller table to provide additional print support.
Once the print process is complete, the machine will be ready to start producing the next object almost right away. The conveyor belt allows prints to roll right off of the print bed and into a container, eliminating the hassle of removing objects. 


Embeber o que queiram numa Impressão 3D, é agora possível graças a este novo método, THREAD, e isto, sem sequer aumentar o tempo de Impressão!
Brutal!


THREAD: The Hybrid 3D Printing Process That Does It AllTyler Koslow 
According to AMRC development engineer Mack Cocking, the inventor of this technique, the process is a “potential game-changer.”
Although THREAD is still patent-pending, Cocking is sharing a few details about the hybrid system.
For starters, the process offers full automation. It’s able to embed stands of materials like copper, fibre optic, steel, and also nitinol into the printing process. Additionally, the technique allows seamless connectivity through X, Y and Z axis directions.
This means that single or multiple strands of material can be embedded without impacting the original build time of the component.
The THREAD system will be ideal for applications with an intensive focus on weight and size of components. It will also prove valuable for systems that require integrated data transfer and protected sealed connective tracks.
Thus far, the AMRC team is testing the process on machines used for 3D printing polymer. However, they claim that their technique will be functional with different additive manufacturing platforms. 
https://all3dp.com/uk-engineers-thread-hybrid-3d-printing/


Este Site, Fine Woodworking, está sempre cheio de coisas boas, tal como este Torno bacano, feito com a Sucata que qualquer Engenhocas acumula, e 2 ou 3 artigos comprados na Ebay!
E o melhor, é que a ideia serve para muitas outras Máquinas, que queiram fazer à vossa própria maneira, e mais nada....


Homemade Lathe on a Budget
Matt Berger  
Retired engineer builds a bowl-turning lathe from scrap parts and a headstock purchased on eBay
When George Archer decided to upgrade his Shopsmith lathe to something that could handle larger projects, he didn’t browse the tool catalogs. Instead, he built his own.
“It does great,” said Archer, a retired engineer from Savannah, Georgia, who cobbled together a heavy-duty bowl turning lathe from $100 of purchased and found parts. “So far, so good.”
What inspired Archer to build his own lathe rather than buying a commercial one? “Probably the $2,000 difference in cost,” he said. Another likely contributor is his engineering prowess. The hobby woodworker spent many years engineering parts for air-conditioning systems. 


Ora aqui está mais uma ideia impecável da Rs-Online, não têem de fazer uns "monos" de teclados, podem-nos fazer como deve de ser, Teclas mesmo a sério...
Assim:


Building a Custom Keyboard
Andrew Back 
Assembling a high quality custom keyboard with Cherry MX switches
What could be more joyful than a keyboard featuring keys with a satisfying travel and characteristic sound as they bottom-out, topped off with solid, colourful keycaps of your own choosing.
In this post we take a quick look at the custom and collectible keyboard scene, before moving on to the sourcing of parts and assembly of a custom “ortholinear” keyboard with Cherry MX switches. 


segunda-feira, 1 de maio de 2017

3D Flutuante, support-less 3D! E Blue Stuff, Instrumentos Musicais DIY, poupar na Gravação Laser, e uma 3ª mão

Dica de Maurício Martins, e muito obrigado, eis uma das tais ideias que mudam uma Indústria inteira, imprimir em 3D, SEM GRAVIDADE!
Como?
Uma seringa esguicha material num Gel;
A Gravidade não influencia a Impressão, logo, impressão sem suportes!
não é camada-por-camada, é desenhar em 3D por isso, é mais rápido, e em tamanho gigante.
É bom!


steelcase X MIT create customized furniture by 3D printing into liquid gel 
up until now, 3D printing has been a desirable yet limited tool for manufacturing. whilst great for creating small, one-off objects, the technique has long needed to be adapted to be used on a large, commercial level. with this in mind, scientists at the MIT self-assembly lab have collaborated with the global furniture brand steelcase and acclaimed product designer christophe guberan to yield a 3D printing breakthrough—piloting a new process dubbed rapid liquid printing. the technique allows for the creation of large scale objects in just minutes, and is poised to make large-scale manufacturing of customized furniture a reality. 


Blue Stuff, pode ser-vos útil em muitas coisas, para moldar plàstico a frio.
Usando Oyumaru, ou Blue Stuff, basta aquecer o produto em àgua quente, e moldar em volta do que querem duplicar.
Mas pode servir para muitos outros fins, como pivots de estruturas provisórias, etc.


Blue Stuff/Oyumaru - How to cheaply cast miniatures or plastic models - new version

David Damek 
Only for personal use.
Blue Stuff 

part1 - How to paint cockpit - 


...
part2 - Self-made improvements - 


...
part3 - How to Use Washes Oil https://www.youtube.com/watch?v=FXerp...
part4 - Riveting and Rescribing Panel Lines - 


...
part5 - Weathering using aquarelle crayons - https://www.youtube.com/watch?v=JfRcJ...
part6 - How to paint and create stencils RAF roundels - https://www.youtube.com/watch?v=r_J0J...
part7 - Airbrush tutorial, tips for better airbrushing - https://www.youtube.com/watch?v=jH5OH...
part8 - How to paint inline engine - https://www.youtube.com/watch?v=wYGQz...
part9 - Resin accessories - https://www.youtube.com/watch?v=k_Mbc...

David Damek


Com ou sem Impressora 3D, eis 15 maneiras de fazerem os vossos próprios Instrumentos Musicais, por isso, mãos à obra: 


15 Groovy Ideas for Homemade Musical Instruments to DIYTyler Koslow 
Playing instruments is fun, but building them yourself is even better. Why not DIY your own homemade musical instrument?
They say that music makes the world go round, but spending money on new instruments will often make your bank account go down. For those who are passionate about making music, it’s usually a worthwhile investment, but not when you can DIY your own homemade instrument.
If you have some spare time and enough maker spirit, you can skip the pricey trip to the music shop and construct your own DIY homemade instrument.
We’ve collected a number of projects designed for beginners, intermediates, and experts.
Whether you own a 3D printer or not, there are a number of projects for you to delve into on this list. In a matter of hours, you can print or build some of these homemade instruments, bringing joy and sound right into your home. 
https://all3dp.com/1/homemade-instruments-ideas-diy-3d-print/


Saber qual a maneira mais económica e eficiente de gravar por Laser CNC, é o propósito deste Tutorial da Ponoko, por isso, se querem lucrar com as vossas Gravadoras 3D, vão lá:


Take The Mystery Out Of Laser Engraving Costs With This Price Comparison Tutorial

Lisa Horn 
Laser engraving: It turns basic laser cut designs from ordinary to extraordinary. But this added style, beauty and impact can significantly increase your design costs. To be able to achieve excellent design while staying on budget, you’ve got to get smart.
This means you’ve got to get smart with how files are built…and this may take some detective work to determine exactly where there are opportunities to tighten up a design that saves time—and money.
But does getting these laser engraving costs just right seem like a mystery that can’t be solved? You don’t have to be Maxwell Smart, Inspector Clouseau or 007 to solve this case. We’ve done all the legwork for you…and it didn’t require a clandestine impossible mission or an enigmatic decoder machine to get the files. 


Muitas vezes, uma tarefa simpres torna-se um pesadelo, se não houver alguém à mão, para segurar numa peça, ou o que mais...
Todos passámos por isso!
Por isso, cá vai este Instructable que vos dá uma terceira mão, e fazem assim de tudo, sem ajudas!


Ultimate Third Hand

Franklin7993 
What is a third hand?
A third hand is a devise used to hold something in place while work is being performed. It is essentially a third hand to aid your two hands. It is like having someone else’s hand to help hold something that you are working on. With the aid of another hand to steady your work you can perform the task that you are doing with a steady hand.
You can use a third hand to hold parts while using a torch to heat the parts and solder them together.
A third hand is useful to hold parts in place when using a soldering iron to make a join.
A third hand is very helpful when gluing parts together. There are dozens of other uses.
Essentially a third hand holds items in place while you work on them. 
https://www.instructables.com/id/Ultimate-Third-Hand/