
Isto é que é explorar a 100% as possibilidades da Impressão 3D!
Porque é lenta e cara, a Impressão 3D deve ser usada para produzir Moldes para injecção de Plástico, o que só DEPOIS resulta na producção em série de objectos, como deve de ser...
Aprendam como é que o podem fazer, com estes nossos amigos da Pinshape, que aconselho a subscrever:
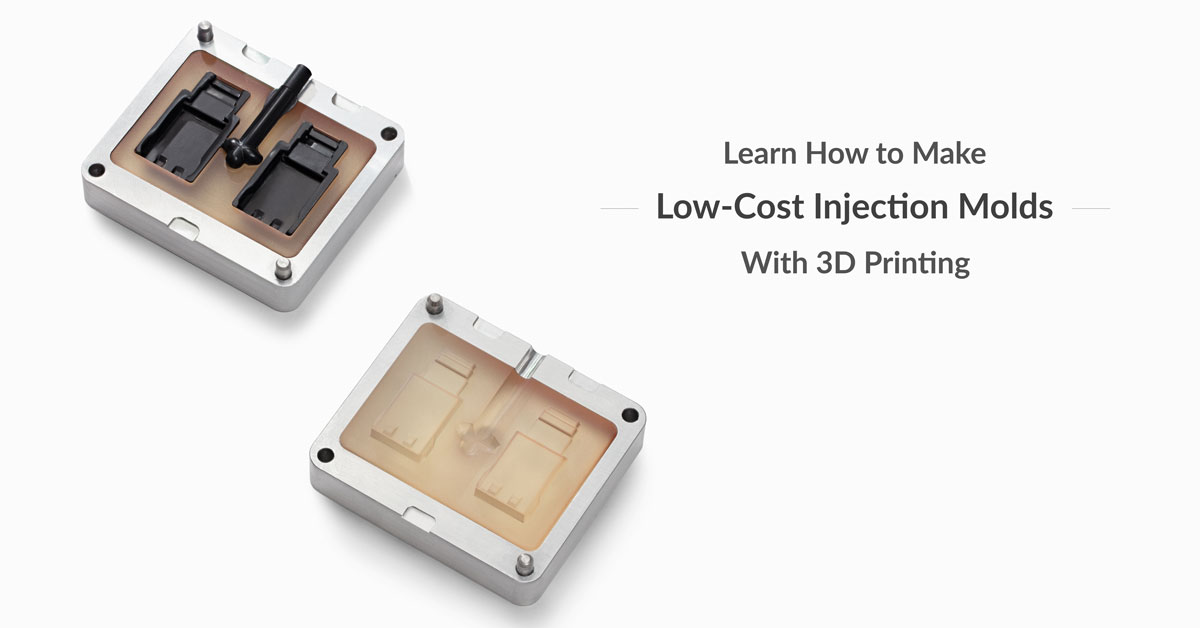
Low-Cost Injection Molding Using 3D Printing
Pinshape Blog
It’s no secret that 3D printing is a great tool for affordable production of custom objects. With new 3D technology like the Formlabs Fuse 1, there are a variety of options availible for small batch production needs that help manufacturers save on cost-per part. However, in some cases injection molding is still ideal for scaling production needs.
In this post, you’ll learn how to combine 3D printing and injection molding for small batch production. By using 3D printing to cost-effectively produce your molds and injection molding to rapidly produce identical copies, you leverage the benefits of both technologies. In this tutorial, we’ll go through the process of designing your mold, choosing a material, and producing injection molded parts. By the end, you’ll have the knowledge to access the speed and cost-efficiency of injection molding processes.
https://pinshape.com/blog/low-cost-injection-molding-using-3d-printing/

Prova brilhante da Graça e Génio Femenino, a nossa amiga darbinorvar mostra aqui como se pode ser Engenhocas sem deixar a casa num Caos, com este Instructable que ensina a ter uma ordem e organização invejáveis, sem ter medo, no entanto, de trabalhar nos vossos projectos...
Muito bom.

How to Create an Amazing Workspace at Home
darbinorvar
The idea is to create a functional and practical work area within the home that's accessible to all family members, friends, and co-workers. If you're looking to introduce your children to the world of making, or simply make it a bigger part of your everyday life, then there is a lot of appeal in creating a versatile area that automatically becomes the go-to place to fix broken things, learn new subjects, try out new projects etc.... While many people would automatically want to hide such a space in the garage or basement, it's a nice idea to make it a very central part of the home - by giving it such a prime location you communicate what an important part of your life this is or could be, and you make it easier for work to take place.
https://www.instructables.com/id/How-to-Create-an-Amazing-Workspace-at-Home/
Já aprenderam como fazer os moldes, então aprendam como os desenhar, para que a peça saia bem-feita, com este White paper que podem descarregar:
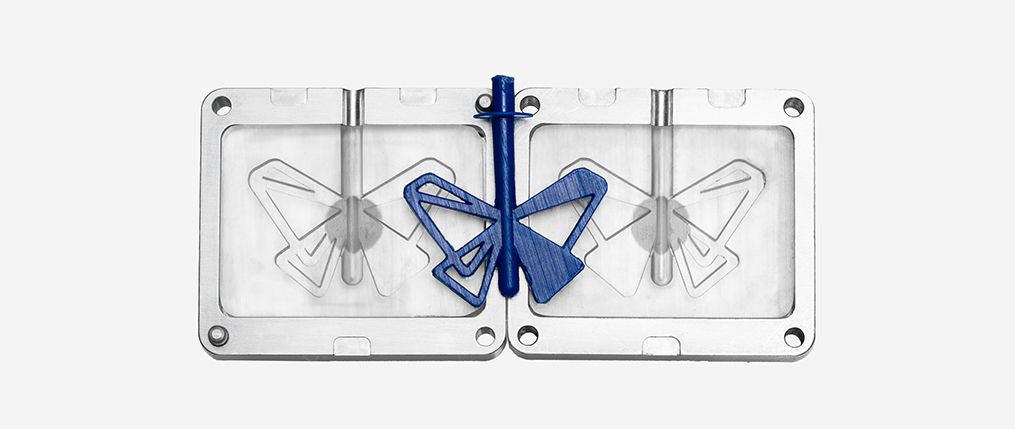
Injection Molding from 3D Printed Molds
FORMLABS WHITE PAPER:
Why you should download
The majority of plastic products in the world today are manufactured by injection molding. Download the white paper now if you want more information on:
How desktop 3D printers can be used with injection molding machines
Creating molds in-house to produce small, functional parts for final products
What you will learn
Machining custom-designed metal molds can be prohibitively expensive and time-consuming. Download the white paper now to learn:
The steps and results of Formlabs' test with Galomb, Inc., a manufacturer of benchtop injection molding machines
Recommendations and best practices for injection molding with 3D printed molds
Suggestions for designing and 3D printing molds
https://formlabs.com/injection-molding/
Algo que paralisa muita construcção de Protótipos, é a necessidade de produzir uma caixa, ou o que seja, com parafusos, e porcas...
Pois cá vai um Tutorial sobre como desenhar as vossas Engenhocas para Impressão 3D, sem perderem a paciência a tentar imprimir uma rosca que vai eventualmente moer...
Porque usam Porcas em metal!
É bom.

Adding Screw Threads to 3D Printed Parts
Downloads , Tutorials
At Formlabs, we design lots of functional parts for printing on the Form 2 (our stereolithography, or SLA, 3D printer). These parts include things like internal prototypes used for R&D, jigs and fixtures that will be used on our manufacturing lines, and parts for design reviews before the final part is injection molded from a material like nylon.
No matter the application, we often find ourselves needing to combine multiple parts using screws, and now that we’ve released an improved formulation of our Tough engineering resin, the differences between “looks like” prototypes and functional prototypes are decreasing.
This article is a guide to using screws in 3D printed SLA parts. There are many other ways to attach multiple 3D printed parts together, but if you need to repeatedly attach and detach components and want robust mechanical fastening, there's no real replacement for genuine metal threads.
https://formlabs.com/resources/engineering-manufacturing/
Ainda não chegámos ao fim do Rolo de Filamento, e a Humidade e o Pó já fizeram estrago, tornando o Filamento numa porcaria que arruína as Impressões...
E a nossa paciência!
Mas já não acontece, se colocarem o Rolo dentro desta caixa à prova de àgua, com estas saídas para o fio.
Atenção, que a Licença destes objectos 3D não permite a venda,a penas o uso individual:

Filament dry box for 3-4 spools of filament
bummster
My dry box for 3 - 4 spools of filament. There are many dry box plans out there. This one is mine.
The rod is at a good height for most spools when using a pair of spool hubs on each spool
1 Sterlite 20qt air tight box.
24 3mmx10mm machine screws (3mm x 8mm will work but I like a little bit of thread sticking out of my nylocks)
24 3mm nylock nuts
24 3mm washers
1ft 3mm OD x 2mm ID PTFE tube.
1 12in 5/16 threaded rod
https://www.thingiverse.com/thing:961881


